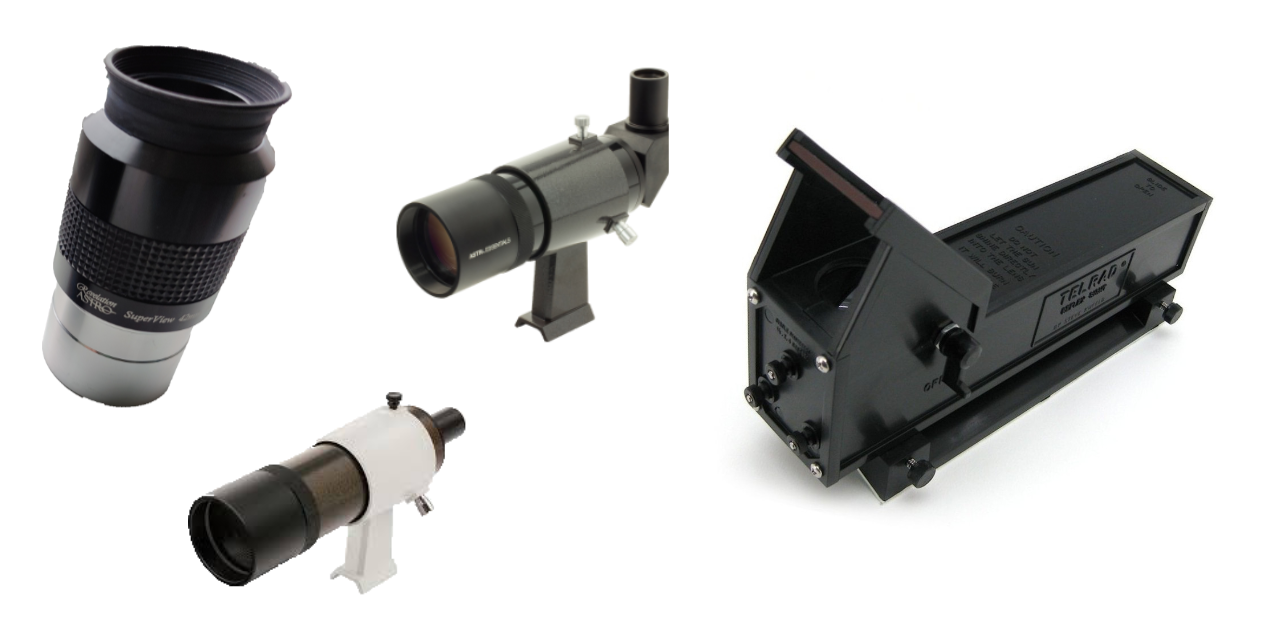
With its high magnification and apart from the moon, finding objects can be very difficult for new and experienced observers. Technology can help but a finder will be essential for most telescopes.
I use a combination of a non-magnifying finder and then a right-angle magnifying finder (RACI) to locate objects.

Most telescopes will come with a finder scope used to align the main telescope using crosshairs or reticule. The finder will need aligning using two or three screws and for the first time, I would do this in the daytime using a distant tree or antenna.
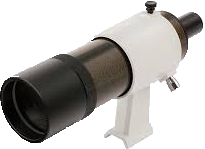
I found it quite difficult to use the straight-through finder that came with my Dobsonian telescope. At 9×50 it is quite powerful which meant that I was pointing at a star but it wasn’t appearing in the finder. Second, it is very close to the tube of the telescope which meant I was having to bend down a lot to see through it. After a period of time, this became very uncomfortable.
My first workaround was to attach a small plastic sighting tube to the finder.
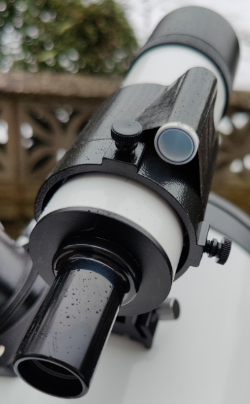
I was able to find the star in the tube and as long as my head was in the right place, it was usually in the finder. Not ideal.
Right Angle Finder (RACI)
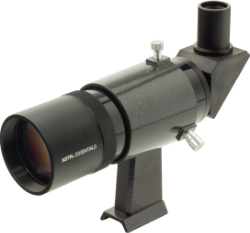
I decided to replace the straight-through finder with a right-angle correcting finder (RACI). This 9×50 finder presents a non-inverted image and eliminates the need to bend when star hopping. It does have a disadvantage that it can be difficult to initially target an object because you are using it at right angles to the object you are looking at. Read on and I’ll explain how I overcame this problem.
Tip – Do bear in mind that adding a RACI (480g), Telrad (308g) and a smartphone plus bracket will move the centre of balance. A counterweight on the opposite side (I use a magnet) will help especially when the OTA is near horizontal.
Non-magnifying finder
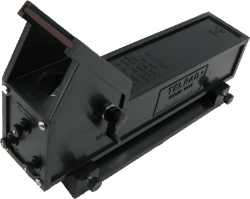
I decided to get a non-magnifying finder that displayed a red circle (reticule) at infinity; which means that as I moved my head, the circle would not also move. I was very intrigued by The Split-Pupil Finder and if I had access to a plastic lens, I would have made one. Another interesting DIY option I considered was this one.
The best-known reticule finders are the Telrad and the Rigel Quickfinder. Both get great reviews and recommendations from users. The Rigel is taller and not as bulky so would have been my first choice but I came across a used Telrad and got that. Alternatives and cheaper alternatives such as red dot finders are available.
The Telrad is very easy to use and I would recommend it for finding objects quickly.
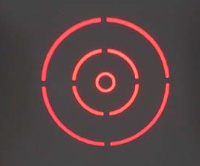
Although bulky it is fairly light and the two AA batteries in it last a very long time. It is fitted to the telescope tube with strong double-sided tape which is supplied. As you will read below, I don’t use this anymore.
I can often go straight from the Telrad to the eyepiece without having to use the finder. However, the finder is still useful when I needed magnification for aligning an object that needed a little magnification.
Tip – The Telrad does suffer badly from dew so here is my fix.
Where to position the Telrad?
There are two obvious places to fit the Telrad – a. the other side of the finder (top photo) or b. between the focuser and finder (see below).

I removed the double-sided tape from the telescope and Telrad base and replaced it with Heavy Duty Velcro tape so that I could try both positions.
Tip – You can use a long cable tie (or multiple shorter ones) if you don’t want to use Velcro.
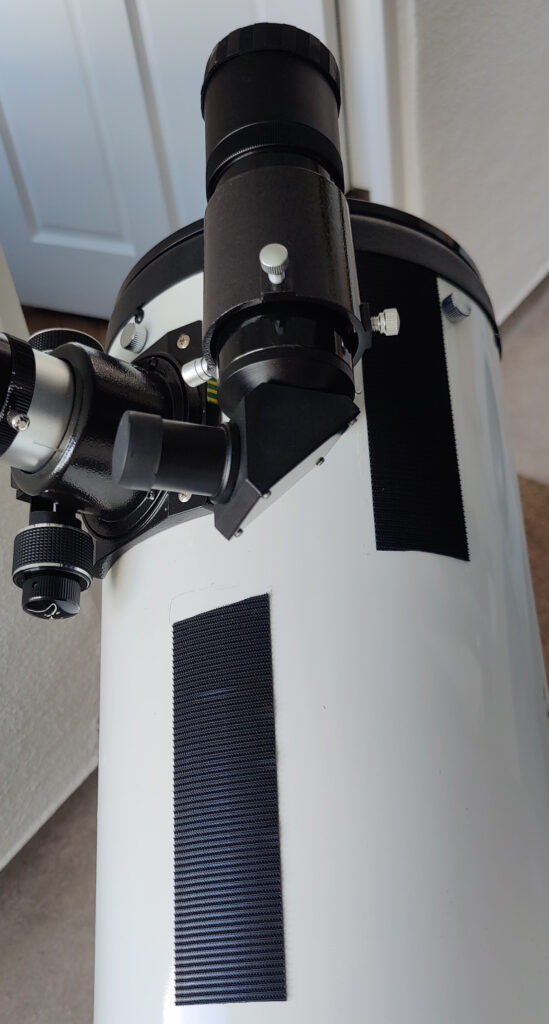
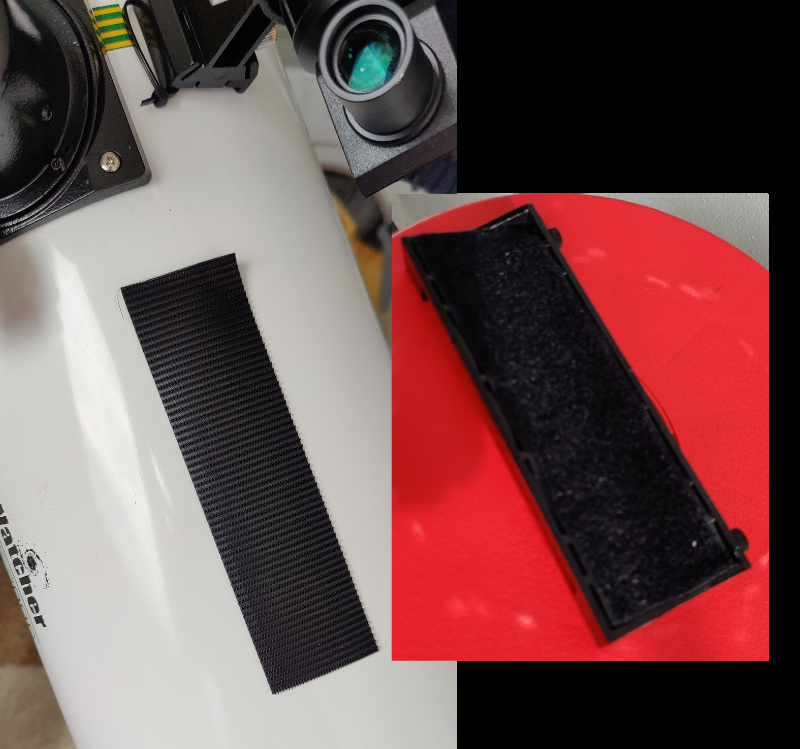
After trying both, I’ve decided that a. is the most comfortable. Having the Telrad between the eyepiece and the finder (option b.) allows me to use the two finders and eyepiece from the same position but there is a problem. It sits further back which means the Telrad is very uncomfortable to use when finding objects that are higher in the sky. Option a. means that I have to move to the other side of the tube to the focuser when I use the Telrad but I prefer this to having to strain my neck. I have added a “riser” to the Telrad mount to reduce the amount of bending.
Since writing this, I’ve adapted the Telrad base so that it fits a standard finder dovetail shoe and I can use both from the same position.
Wide Angle Low Power Eyepiece
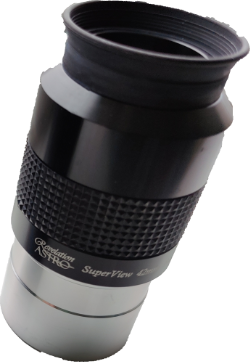
A used 42mm, 65° Revelation/GSO eyepiece lets me observe and get great almost 3D views of large clusters, star fields and objects like M31. It also has the advantage of being a finder-eyepiece. It is much easier to find an object in the wide field eyepiece and then switch to high power if necessary.
Tip – It is possible to use a non-magnifying finder like a Telrad and just a low-power eyepiece without using a RACI.
Summary
- A non-magnifying finder is the simplest and cheapest way to find objects that are visible to the naked eye
- A straight-through finder is easy to use but is very uncomfortable to use with a reflecting telescope
- A right-angle finder is comfortable and easy to use but only if it is used with a non-magnifying finder
- A non-magnifying finder combined with a low-power eyepiece is a good alternative combination
How to align a finder
- Point your telescope at the moon or a distant object like a tree or antenna. You can do this in the daytime as long as you DON’T point it at the sun.
- Get the moon or distant object in the centre of the eyepiece and then look through the finder.
- Use the adjustment screws that surround the finder to centre the object in the cross-hairs. Many finders have two screws and a spring-loaded screw rather than three screws.
- If the screws don’t allow enough travel to centre the object, remove the finder and slightly loosen the finder shoe bolts with a screwdriver. Replace the finder and physically move the finder left or right to centre the object, using the outer screws if necessary. Remove the finder and tighten the shoe bolts.
- Check the object is still centred in the eyepiece and tweak the finder if necessary.
- At night you can use a star such as the pole star to to a fine alignment.
Further reading
Dim objects like galaxies and the Crab Nebula may take additional steps to find them.
