How to Star Hop
DSO’s like galaxies are not only difficult to see (Turn Left at Orion is your friend) so don’t expect coloured images like those produced by astrophotographers.
Light pollution (street lights and the moon) makes these dim fuzzies even more challenging.
Sometimes a dim object like M1 (Crab Nebula) can be difficult to locate as it may take a long time looking through the eyepiece before it becomes visible.
This is the method I used to find M1 or even dimmer objects like M97 or M108.
Usual Method in a nutshell
- Search for target in SkySafari
- Use Telrad to find nearest naked eye star
- Use one or more brighter stars or asterism in RACI to find target
- If target is in a barren area or is some distance from starting place, I star/asterism hop using main scope with low power. In order to match orientation, I invert view in SkySafari.
Checklist for observing a dim DSO (dark sky object)
- Your eye has been in darkness for at least 30 minutes
- Use a red head torch if you need to refer to a map
- The sky is totally dark and there is no moon or neighbours with bright lights
- There is no heat haze or turbulence in the atmosphere (good seeing)
- A little bit of air movement is good as it keeps the dew away
- Your telescope has been outside for 45 minutes in oder to acclimatise
- There target isn’t near the horizon.
Your eyes need to become dark adapted so allow at least half an hour in complete darkness before you try and observe. An eyepatch over one eye will work indoors and choose a dark moonless night. The darker the skies the better so it may be worth taking your telescope to a different location. Air turbulence, heat rising and other factors will affect “seeing” and this is far more detrimental than having a cheaper/smaller telescope. You need to choose your location and night well.
If I am scanning the sky and come across an object I want to identify, I use an iPad running SkySafari or Star Chart or SkEye if I am using an Android phone. A pattern of stars (asterism) in the finder or eyepiece will ensure I am in the right place. See the explanation (using Stellarium) below.
A tablet is much easier to use than a phone. The Star Chart iPad application is free of advertising and clutter. Even though it is no longer developed it works really well. SkySafari is my non-free app of choice and is my default way of locating Messier/NGC objects. I would use SkEye if I had an Android tablet.
I also use a desktop computer and printer for locating the position of difficult objects. This includes some double stars that have low brightness or are not easy to find.
Using Stellarium
Run the desktop version of Stellarium and ensure that my finder and lowest power, wide-angle (WA) eyepiece have been added to the ocular section.
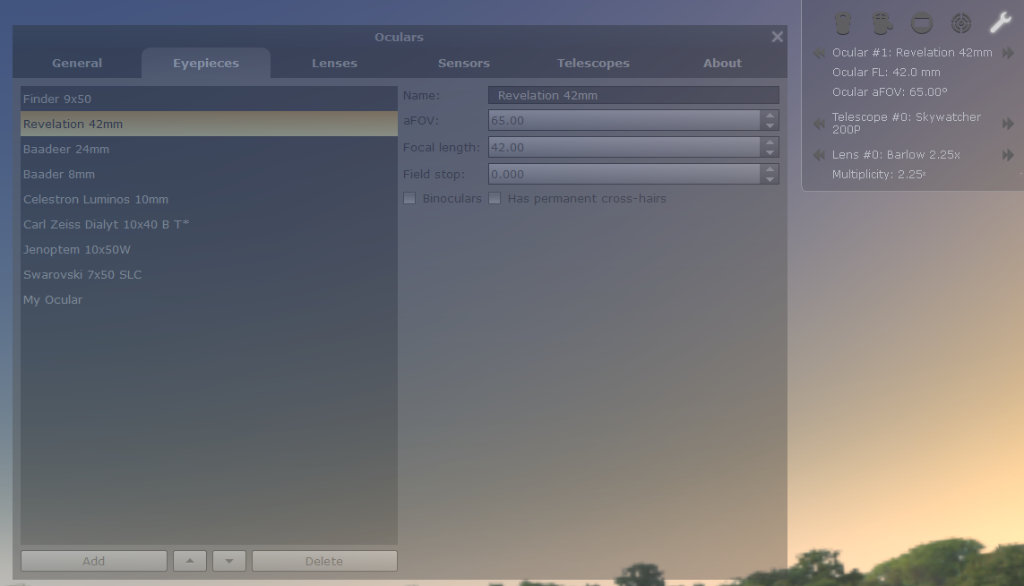
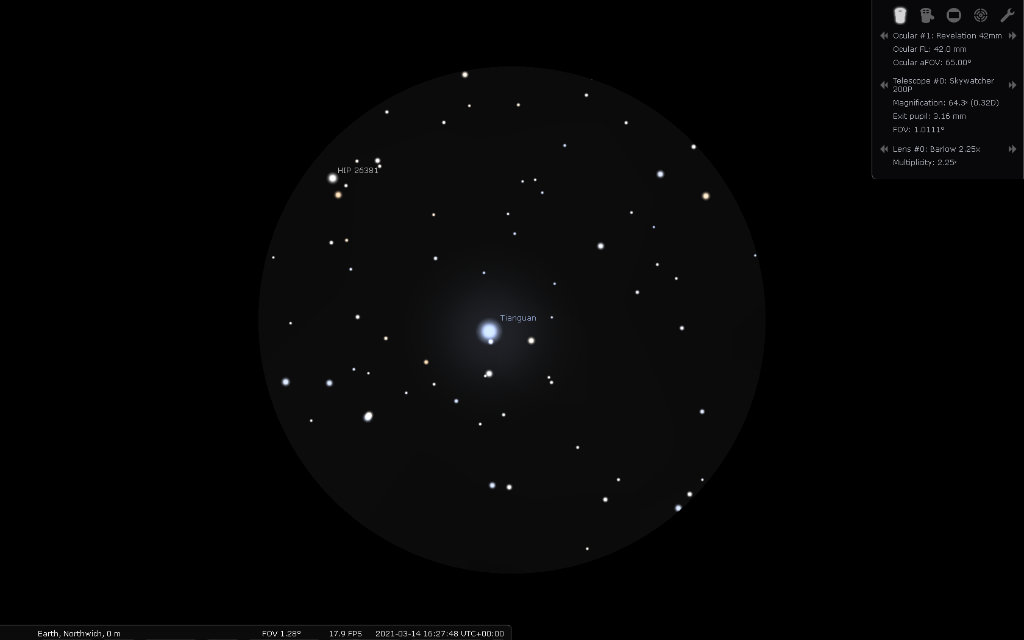
Locate the nearest visible star (Tianguan) in Stellarium and switch to ocular view. I first select the finder view to determine the direction I need to move. I then select the WA EP and take a screenshot (Ctrl + Print Scrn on Windows).
Open the paint app (I use Affinity Paint) and paste the clipboard.
From the layer toolbar, I select invert. This is done to reduce the amount of black ink when printing.
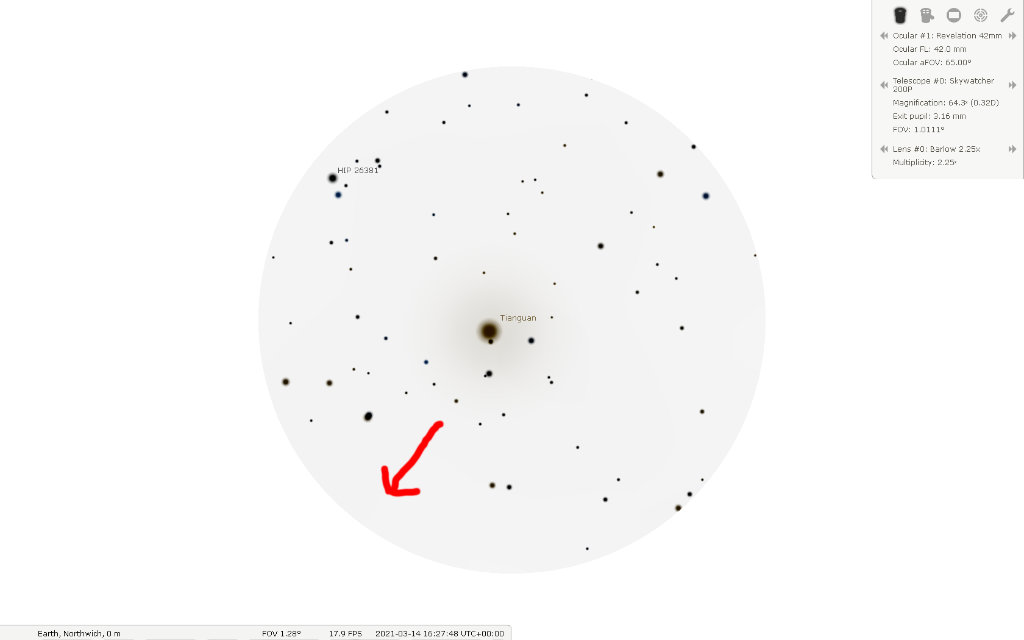
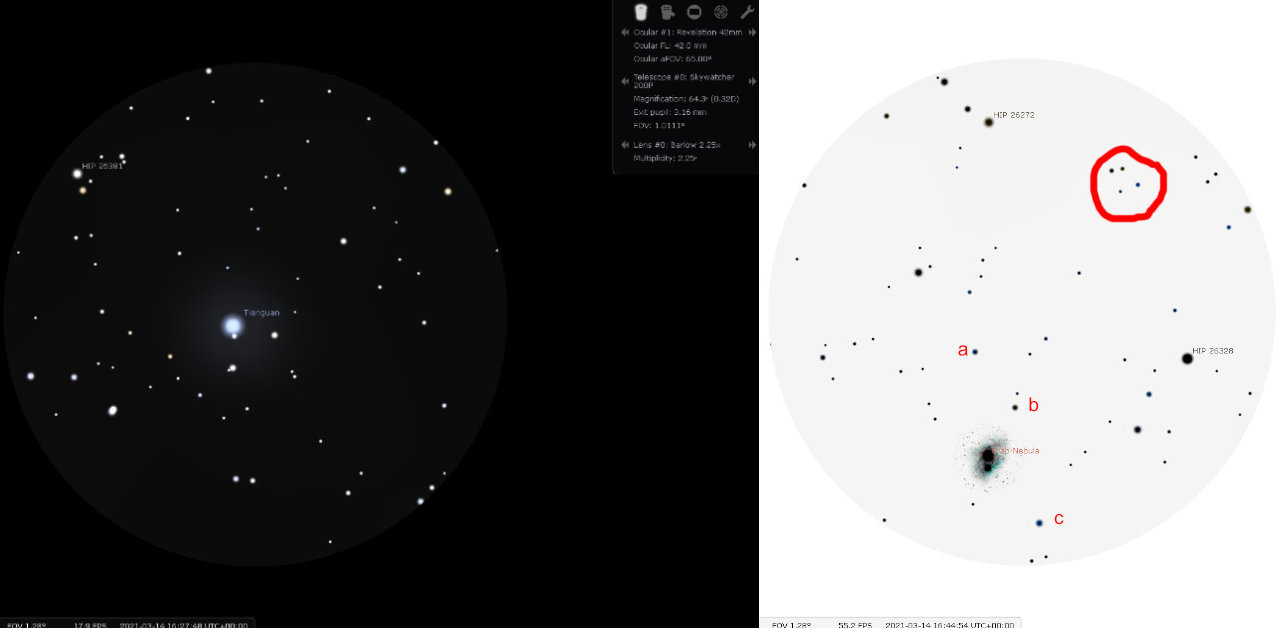
Using the arrow keys of my keyboard, I move towards M1 taking a screenshot and repeating step 2 to 4 above. With my low power EP, it takes three jumps to get to M1. I try and keep a point of reference like Tianguan or an asterism in the screenshot so that I do not get lost.
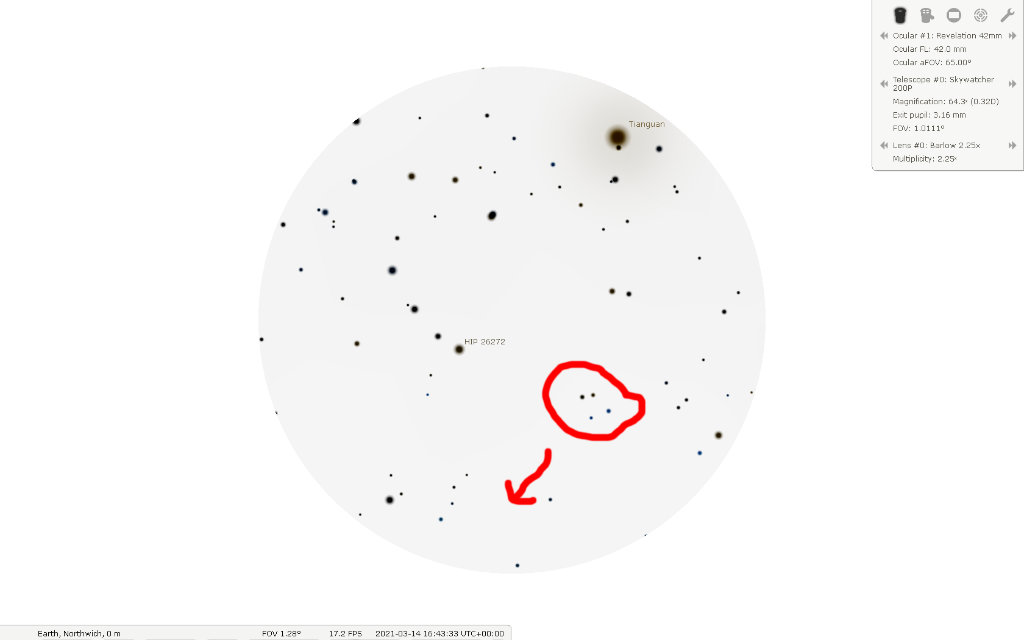
I then have three printouts at the eyepiece. I make sure these are in order and can add arrows to show the direction I need to move the telescope.
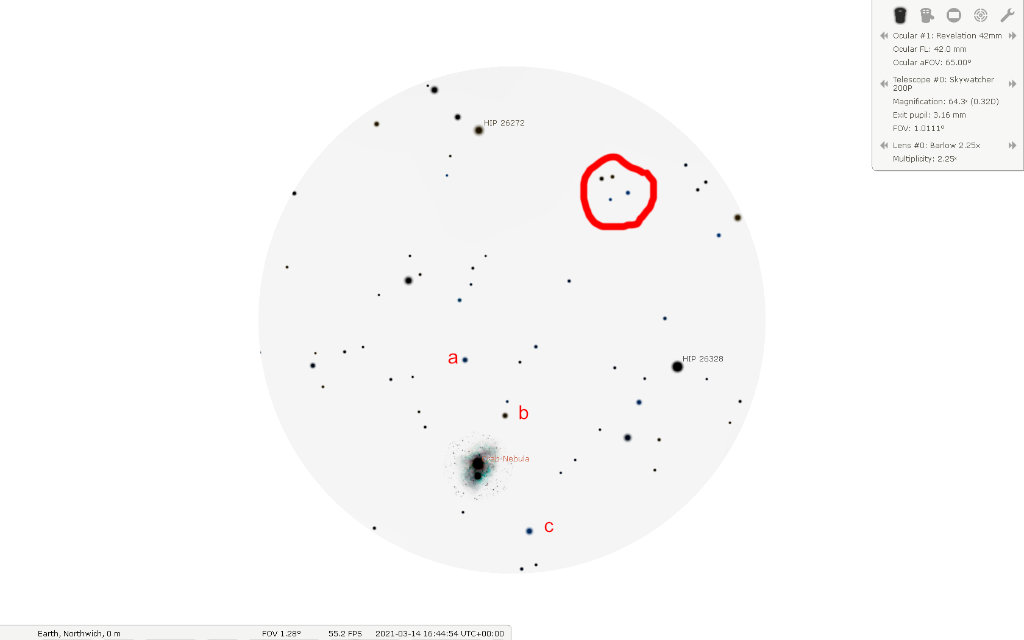
I use asterisms and obvious stars (a, b and c) to identify where to look for M1 as it is definitely not as obvious as in the image.
Writing the instructions takes far longer than actually going through the procedure but I would only ever target a dim object like M1 or a galaxy when conditions are good and there is no moon for example.
It is quicker to have a star map like SkEye, Star Chart or SkySafari on a tablet which will allow you to zoom and out and locate objects by finding star asterisms.
