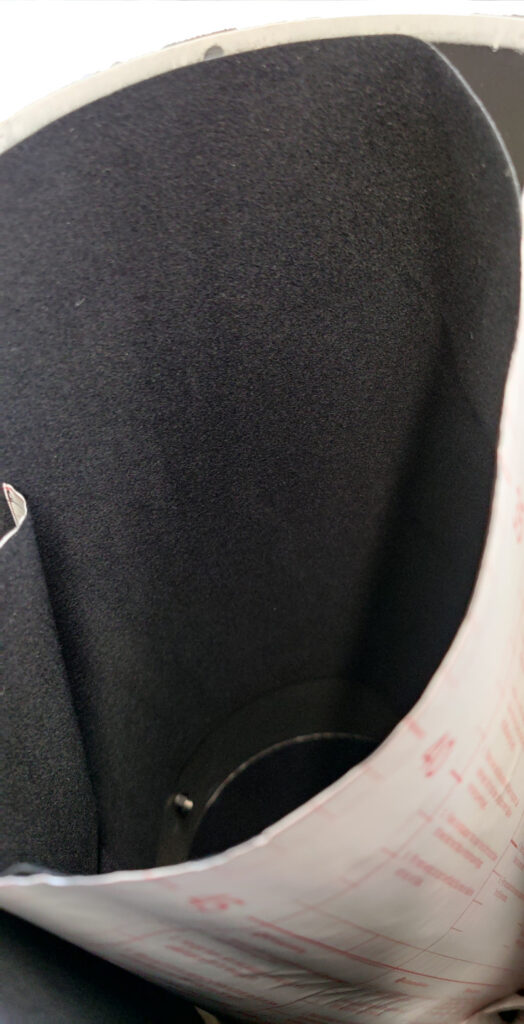
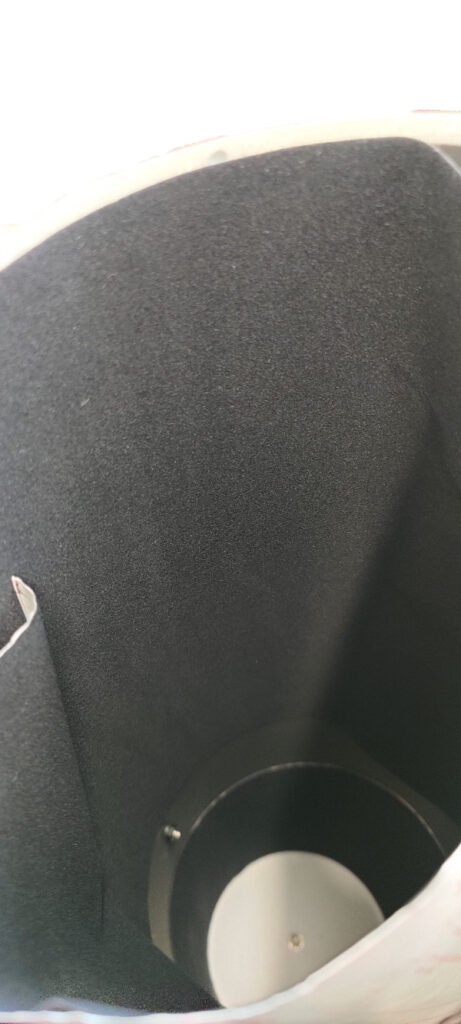
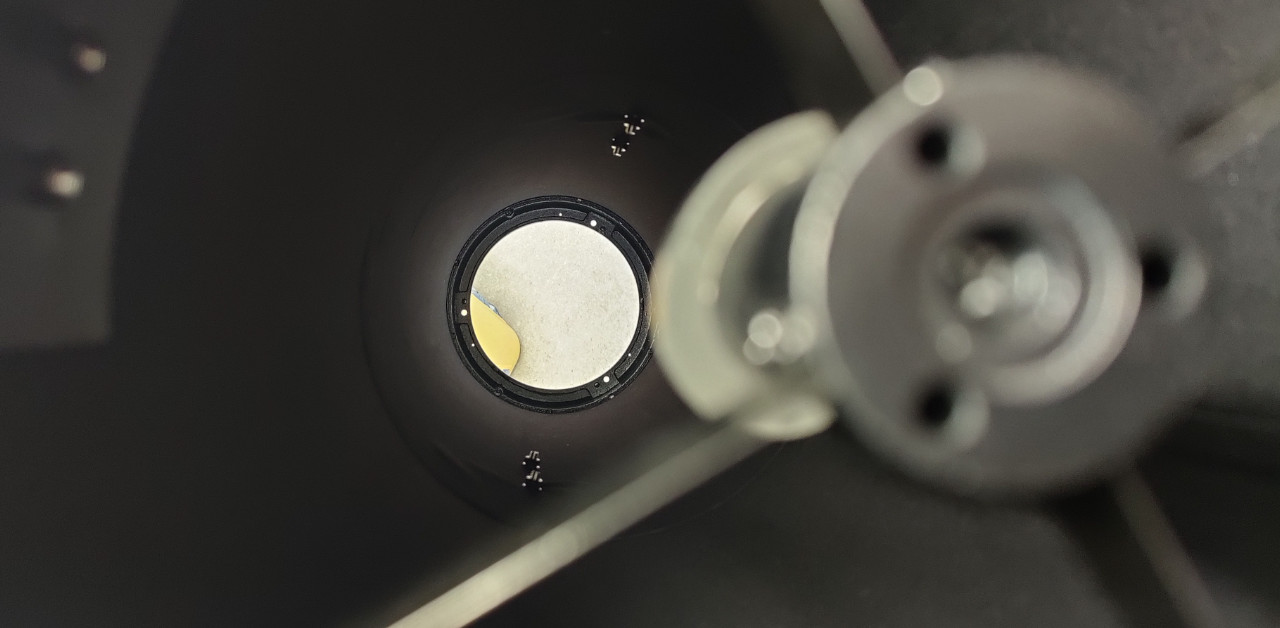
Lining the OTA of the telescope reduces unwanted internal reflections and has the additional benefit of keeping dew off the mirrors.
To flock the OTA of my 8″ 300mm telescope, I used two 1m rolls of Black Velour Material. This is easily fitted to the tube without rippling. As I was removing the secondary and primary mirrors, I decided to clean them.
How I did it
Remove the OTA from the base.
With the OTA vertical, remove the six screws securing the cover that surrounds the aperture. Lift out the cover.
With the OTA horizontal, loosen, in turn, the four thumbscrews that hold the spider and secondary mirror, Carefully remove these and place them somewhere safe.
Remove the finder with bracket and backplate (2 bolts and nuts) and knob (single screw).
Use tape to make the position of the focuser. Remove the four bolts, nuts and lift off the focuser.

With the OTA horizontal, remove the six screws securing the primary mirror and bracket.
Use tape to mark the position of the bracket/mirror on the OTA.

Use a thin blade to gently prise the cover from the OTA. Work round the tube gradually lifting off the mount/mirror. Do not loosen or remove the primary locking screws as this will cause the mirror to fall onto the tube. Pull off the mount/mirror and place it somewhere safe.
Flocking the inside of the OTA
With the secondary and primary mirrors removed, open out a 45cmm roll of flocking material to fit inside the aperture end. Starting at the tube seam and with the backing paper still in place, use clothes pegs to hold the material in place, work it around the tube until you are back at the seam. Leave about a 5mm gap to allow the cover to fit back in the OTA. Mark the backing paper with a pencil allowing enough to cover the seam of the tube.
From each of the two central mounts, remove the closest screw and nut. Leave the other bolt and nuts attached.
Cut the material and fold back a few cm of back paper. From the second roll, cut out the second length of material for the mirror end. Finally from the leftover material cut out material to cover the middle section. This should be about 15cm (105-(2×45) in width. If you prefer, you can cut the centre section once you have fitted the outer sections.
Using the seam as a guide, stick the material to the tube. Using the top of the tube as a guide, pull back the paper in sections and attach the material to the tube. Flatten out any bumps in the material being careful to keep in inline with the top of the tube. When you get to the central mount, slide the material under the bracket.

When you have returned to the seam, flatten the material to ensure there are no lumps or bubbles.

Retighten the two bolts holding the main mount.
Repeat the above procedure for the primary mirror end and finally the centre section.


And how did it work!? Did it make an observable difference to the eye? (Or mostly provide reassurance to the psyche?)
Well, that is the problem – how can I tell with so many variables especially seeing? I’d need two OTAs – one flocked and one unflocked to compare. If I had to commit, I’d say that my mirrors have been less likely to “dew up” (unlike my Telrad) so I am happy with the mod overall.